
So you just got a new DJ controller, or you just arrived at an event, and you’re looking for the best way to connect it to your powered speakers. You’ve come to the right place! You can connect a DJ controller to powered speakers in a few different ways. Today, we will walk you through connecting your DJ controller to powered speakers. Moreover, we will provide step-by-step instructions on how to do it and things to put in mind to avoid missing out.
Let’s get started!
The DJ Controller’s Mechanical Aspect
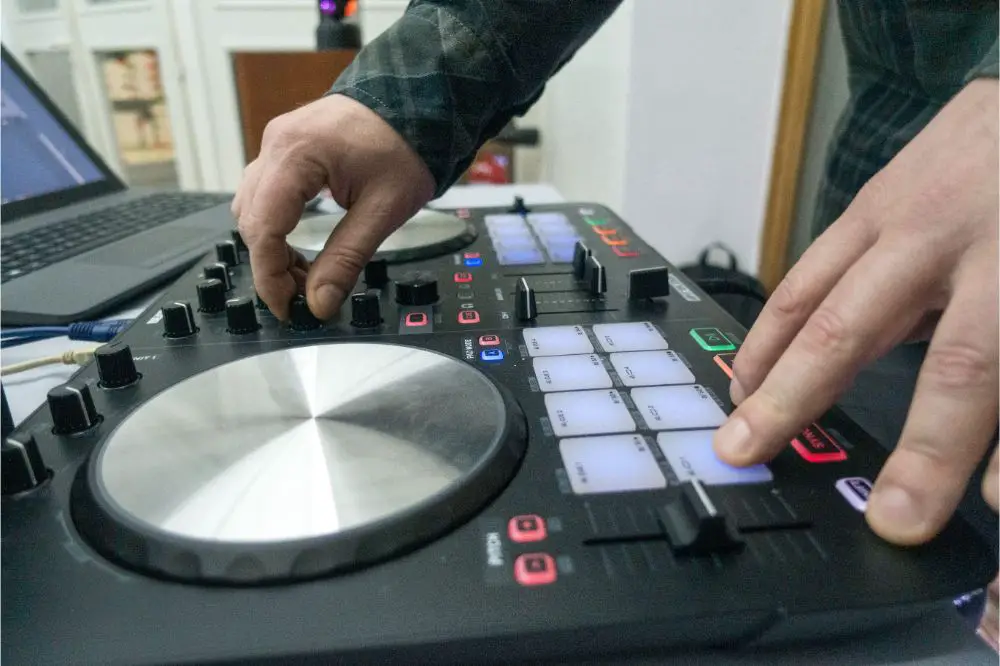
Before you can even begin connecting your controller to the passive speakers, it is vital to know the controller’s functionality. Most DJ controllers will have a built-in sound card, USB port, and audio outputs. You need to be aware of these three main things when making the connection. The built-in sound card is what allows the controller to connect to your computer. The USB port is how you will connect the controller to your powered speakers. Lastly, the audio master outputs allow you to hear the music through headphones or speakers. Having that in mind, it’s time to chip into the task ahead of us.
A Step-by-Step Guide
To connect a DJ controller to powered speakers, you need to follow a series of steps. Each step is crucial in ensuring a smooth and adequately working connection. Below are the steps on how to connect your DJ controller to powered speakers.
Gather the Necessities
The first step is to gather all the necessary items that you will need to complete the task. You wouldn’t want to commence the task only to realize that there are some things you don’t have. You’ll need the following;
- DJ controller: This is just obvious, right? You’ll need to have your DJ controller to get started.
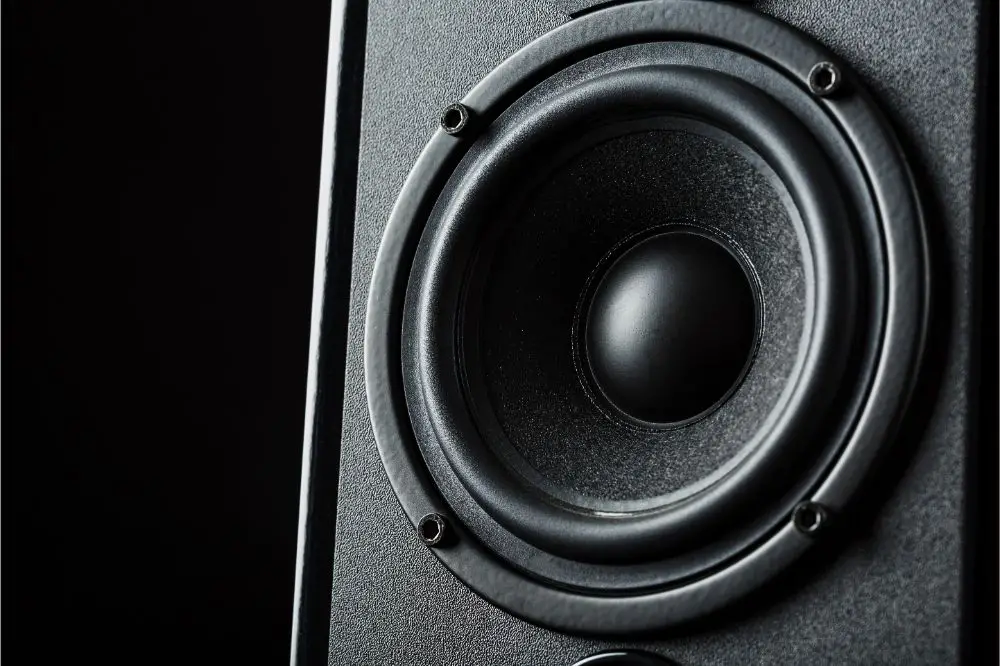
- Powered speakers: You’ll need some powered speakers. The number of speakers you’ll need will depend on how big the event you’re playing at is and how much power you need.
- Cables: These are going to be used to connect the DJ controller to the powered speakers. A few types of cables can be used, such as RCA, XLR, or ¼-inch TRS cables. You’ll need to choose the correct cables compatible with the DJ controller and the powered speakers.
- Audio interface: This is not a must-have, but you might need it in some cases. In situations where the DJ controller doesn’t have a built-in audio interface or if the powered speakers don’t have an input for your controller, you’ll need to get an audio interface.
- DJ Software: Your DJ controller isn’t going to work alone. Therefore, you need to have some software that you’ll use to control the music. Some of the special DJ software include Serato, Traktor, and Virtual DJ, among others.
Set Up your DJ Controller
After you have gathered everything you need, it’s time to start on the main task. The next step is properly setting up your DJ controller from your working station. Depending on the model and make of your controller, there might be a slight difference in how you set it up. However, the process is generally the same for all DJ controllers.
Connect the Controller to Your Computer
The first thing that you need to do after connecting your DJ controller to the power source is to connect your controller to your computer using a USB cable. Ensure that you use a high-quality type of cable for this, as it will ensure that there’s no interference in the connection.
Launch Your Preferred DJ Software
After connecting the controller, launch the Dj software you’re using and configure it according to your preferences. It is essential to take your time when configuring the software, as this will determine how easy it’ll be for you to control the music.
Configure Your Audio Output Settings
The next thing that you need to do is to configure your audio signal output settings in the software. This step is crucial as it determines how your controller will connect to any type of speaker that is powered. In most cases, you’ll need to set the audio booth output to “Line.”
Connect Your Controller to the Powered Speakers
Now that everything is set up, it’s time to connect your controller to the powered speakers. Depending on the type of cables that you’re using, there are a few ways that you can go about this. If you’re using RCA cables, then you’ll need to connect the cables to the phono cable input on the speakers. If you’re using ¼-inch TRS cables, then you’ll need to connect the cables to the “Line In” input on the speakers. Lastly, suppose you’re using XLR cables, you’ll need to connect them directly to one of the speaker’s inputs. Try following through the cables and other connectors to ensure everything is set up correctly.
Turn On The Speakers And Start Playing
After connecting everything, turn on your external speakers and start playing some music. Test out the different features on your controller to get a feel of how everything works. Once you’re comfortable, it’s time to brighten your audience’s faces with your skills. Go ahead and enjoy your tunes as you watch everyone else relish themselves on the dance floor.
What if You’re Working With Unpowered Speakers?
If you’re working with unpowered speakers, then connecting your controller will be a bit different since they lack a built-in amplifier. In this case, you’ll need an amplifier to power the speakers. The amplifier will amplify the signal from your controller so the speakers can produce sound.
How To Do It Right
You first need to connect your controller to the amplifier using RCA cables, XLR cables, or ¼-inch cable (TRS). After connecting the controller to a separate amplifier, connect the powered speakers to the amplifier using speaker wires. Once everything is connected, turn on both the amplifier and the powered speakers and start playing some music.
Test out all of the features on your controller to get a feel for how everything works. Once everything is in place, you can feel the vibe, smile, and enjoy the fruits of your labor. Then, start playing your favorite hits.
Connecting to a Bluetooth Speaker
Nowadays, there are a lot of Bluetooth speakers on the market. These types of speakers are very convenient as you can connect them wirelessly to your controller. Moreover, the process of connecting to a Bluetooth speaker is relatively straightforward.
This is how you do it:
First, put the Bluetooth speaker in pairing mode. To do this, consult your speaker’s manual, as the process differs for every make and model. Once the speaker is in pairing mode, go to your controller’s settings and look for the “Bluetooth” or “Wireless” connection option. Select the option and wait for your controller to search for nearby devices. When it appears, select the name of your Bluetooth speaker and wait for it to connect.
After connecting the two devices, test out the speaker by playing some music. If everything is working correctly, then you’re good to go. Enjoy your tunes!
Things to Keep in Mind While Connecting a DJ Controller to Powered Speakers
There are a few things that you need to keep in mind while connecting your DJ controller to both powered and unpowered speakers.
- The first thing is to ensure that everything is appropriately set up and connected before turning on the power. If something isn’t connected correctly, it can cause damage to your equipment.
- Another thing to keep in mind is the master volume levels. When connecting a DJ controller to powered speakers, starting at a low volume and gradually increasing it is essential. This will help prevent any damage to your equipment and also allow you to get a feel for how everything sounds at different volumes.
- One more thing, it is a crucial tip to always carry extra jack cables with you when you’re gigging. Then, if something happens to one of the cables, you can quickly replace it with the additional cables you have without stopping the music.
- Lastly, make sure that you take your time while configuring the software. As mentioned earlier, this step is crucial as it determines how your controller will connect to the powered speakers.
Tips for DJs When Using Powered Speakers
It’s time to learn some tips to help you get the most out of your setup.
One of the most important things to keep in mind is sound quality. When using powered speakers, always make sure that you’re using high-quality audio cables. This will ensure that the sound quality is optimal, and there won’t be any interference.
Another tip is to use a subwoofer if possible. A subwoofer can help fill out the low end and make your music sound more powerful. We recommend using two or more subwoofers for even better results if you’re playing at a large venue.
Always make sure that you’re using the proper speaker stands. This will ensure that your speakers are stable and won’t fall over.
Have a flow in your music. This means having a good mix of songs that complement each other. You don’t want your set to sound like a bunch of random songs thrown together.
Lastly, always be prepared for the unexpected. Things can and will go wrong, so it’s essential to have a backup plan.
Conclusion
We hope this article has helped you understand how to connect DJ controllers to powered speakers. Follow these simple steps and your DJ controller will be connected to powered speakers in no time! Remember to take your time when configuring the software and always use high-quality, balanced cables to ensure that there’s no interference in the connection. Now get out there and start mixing some tunes!